How to Use Trekking Poles to Save Your Knees & Hike Faster
If you are plagued by knee pain during (or after) every hike you go on or your friends are leaving you in the dust, there is hope. The repetitive impact of hiking on steep terrain, especially with a pack, has a way of making our knees upset which steals the enjoyment from what should be a great day trotting down trails and enjoying the views. While good fitness and a bit of youth might be the preferred answer to the problem, there is another that can help all of us enjoy those miles a little more regardless of our age or fitness level.

Trekking poles, or hiking poles, are a fancy set of lightweight walking sticks that are designed to support you as you move over uneven terrain. (links to recommended poles below) They come in a variety of styles, most being constructed of aluminum or carbon fiber. Aluminum is generally much less expensive than carbon fiber but tends to be a little heavier, less strong, and more prone to breaking. Aluminum also transfers more vibration up the pole to your hands.
The handles are made of foam, cork, or rubber. Foam or cork handles are usually best for hikers as rubber can lead to blisters on an ungloved hand which is why they are used primarily by skiers and snowshoers. If you get cork (which is my preference) just be careful not to leave them laying down at camp! Rodents tend to love chewing up cord handles and ruining your day.

Trekking poles also have a variety of tip options but I just stick to a good carbide tip. Leave rubber tips for the neighborhood walks on concrete. The “baskets” just above the tips are there to prevent sinking too deep and are generally removable. The larger the diameter, the better they do on soft ground or snow. Go with a small diameter for summer trail hikes and swap them out in the winter for big ones when the snow flies.
Trekking poles also collapse in different ways the most common being a telescoping style and the other being a “z-folding” style. Z- folders are usually quicker to deploy and lighter weight but not quite as strong as telescoping poles.

So now how do you use them?! First, set the correct length. With your arm by your side and your elbow at 90*, or parallel to the ground, the pole should be just touching the ground. For me at around 5’11” tall that is about 120cm. Most poles have length markings on the side. The only time when changing the height is useful is when side-hilling or going up or down steep hills. When going up you can shorten them to get better leverage as you reach up and ahead. When descending lengthen the poles so you can reach out ahead further and catch the ground below you to slow your stride.

To help save your knees there are two primary things to focus on. When descending, plant your pole ahead of you and load your weight onto it prior to landing the next step. Use your arm to slow your movement and lower the impact force. Move one pole at a time and match the cadence to the opposite side leg (right pole forward, left leg forward). Keep your hand grip inline with your side and avoid letting your hand go far outside your side which puts more stress on your shoulders.
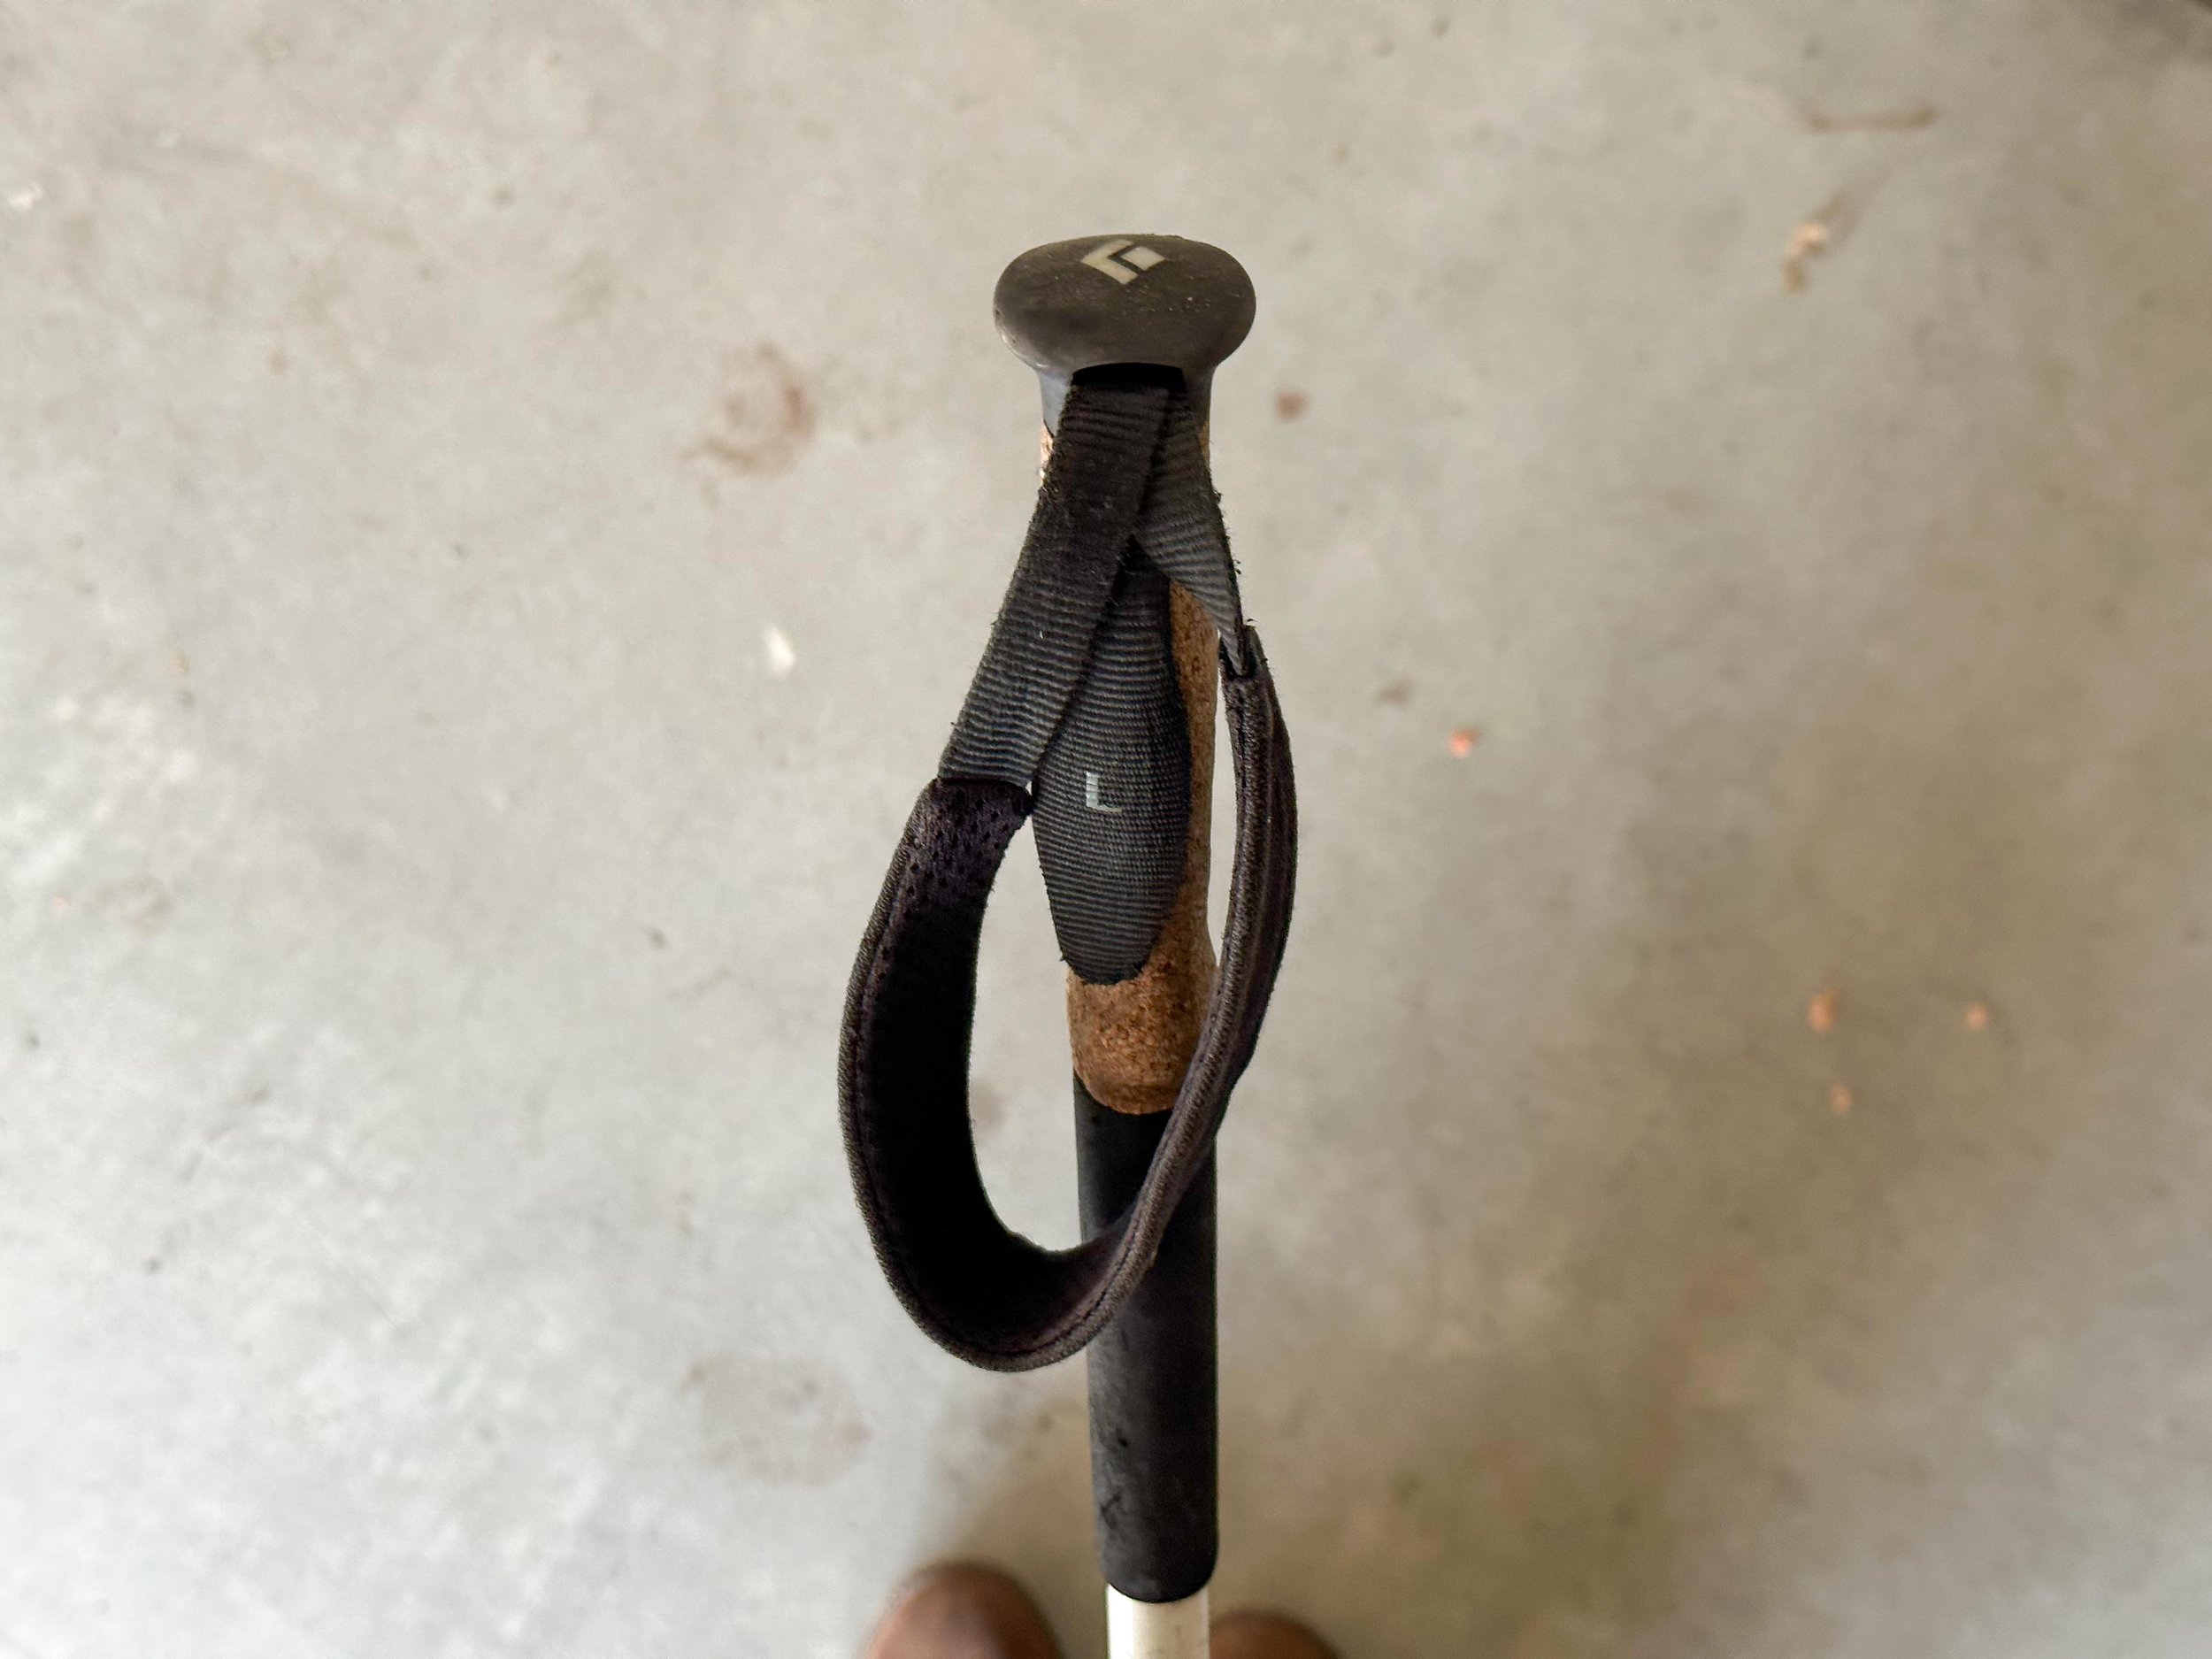
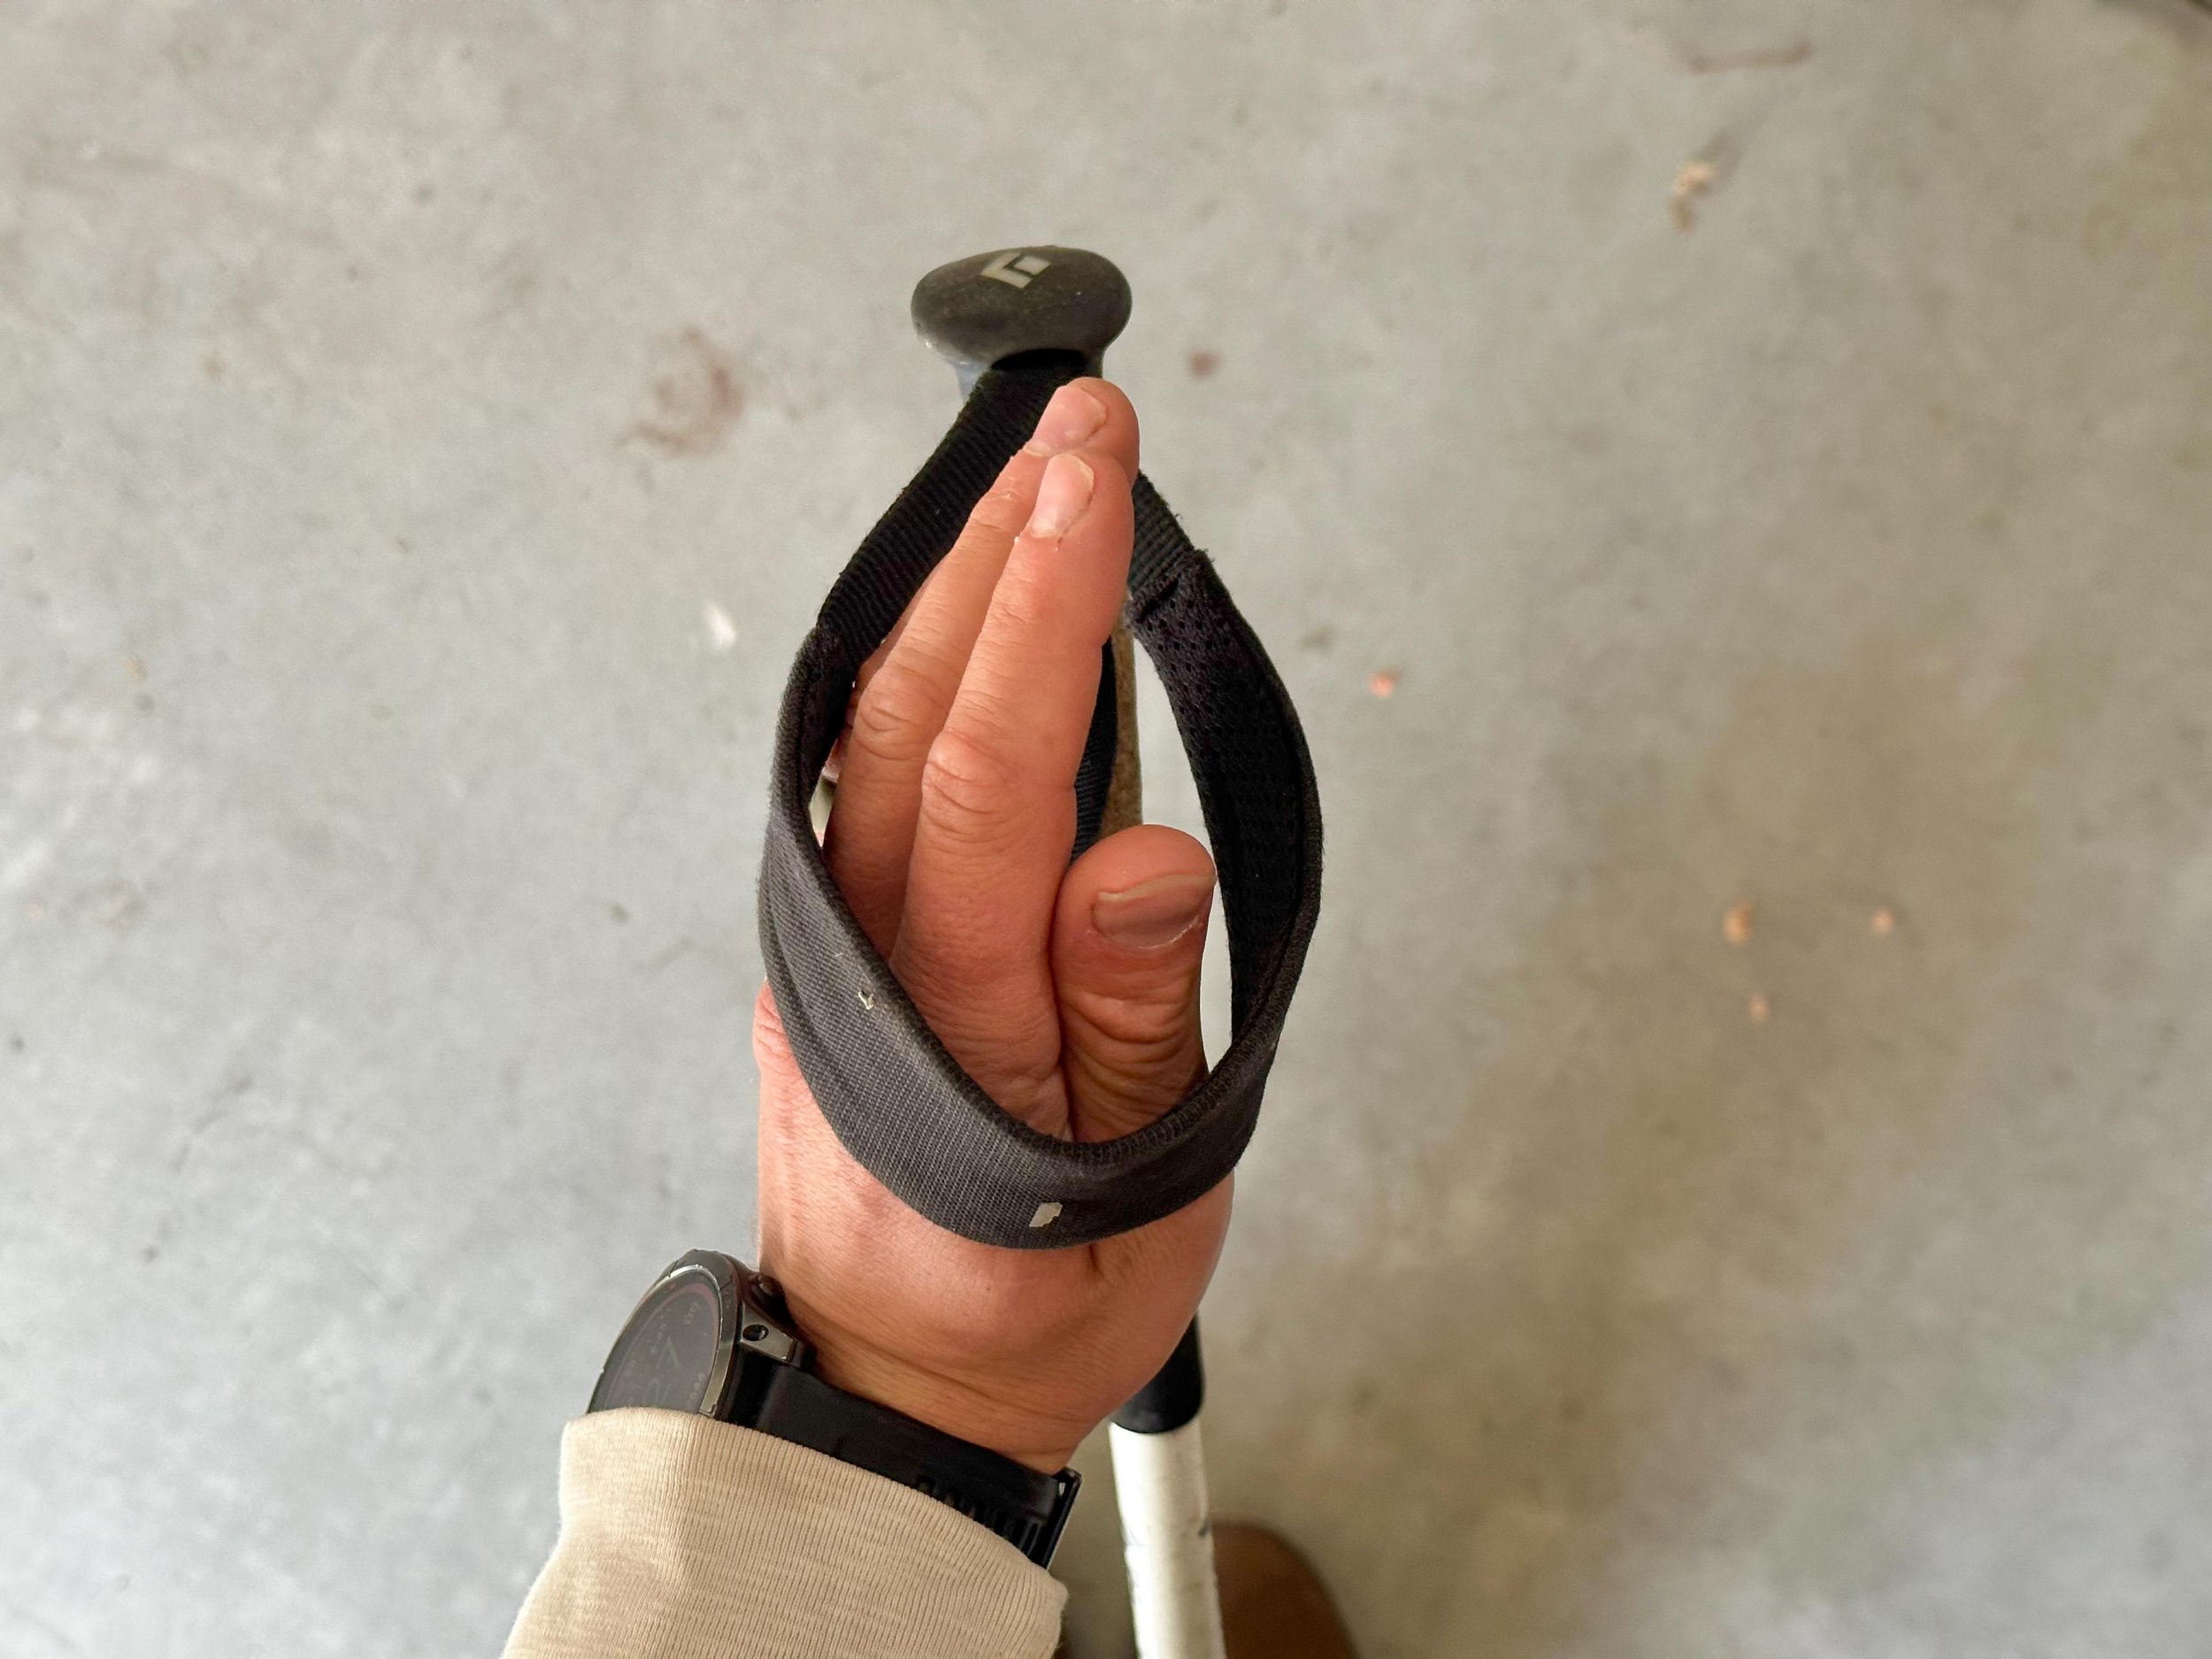
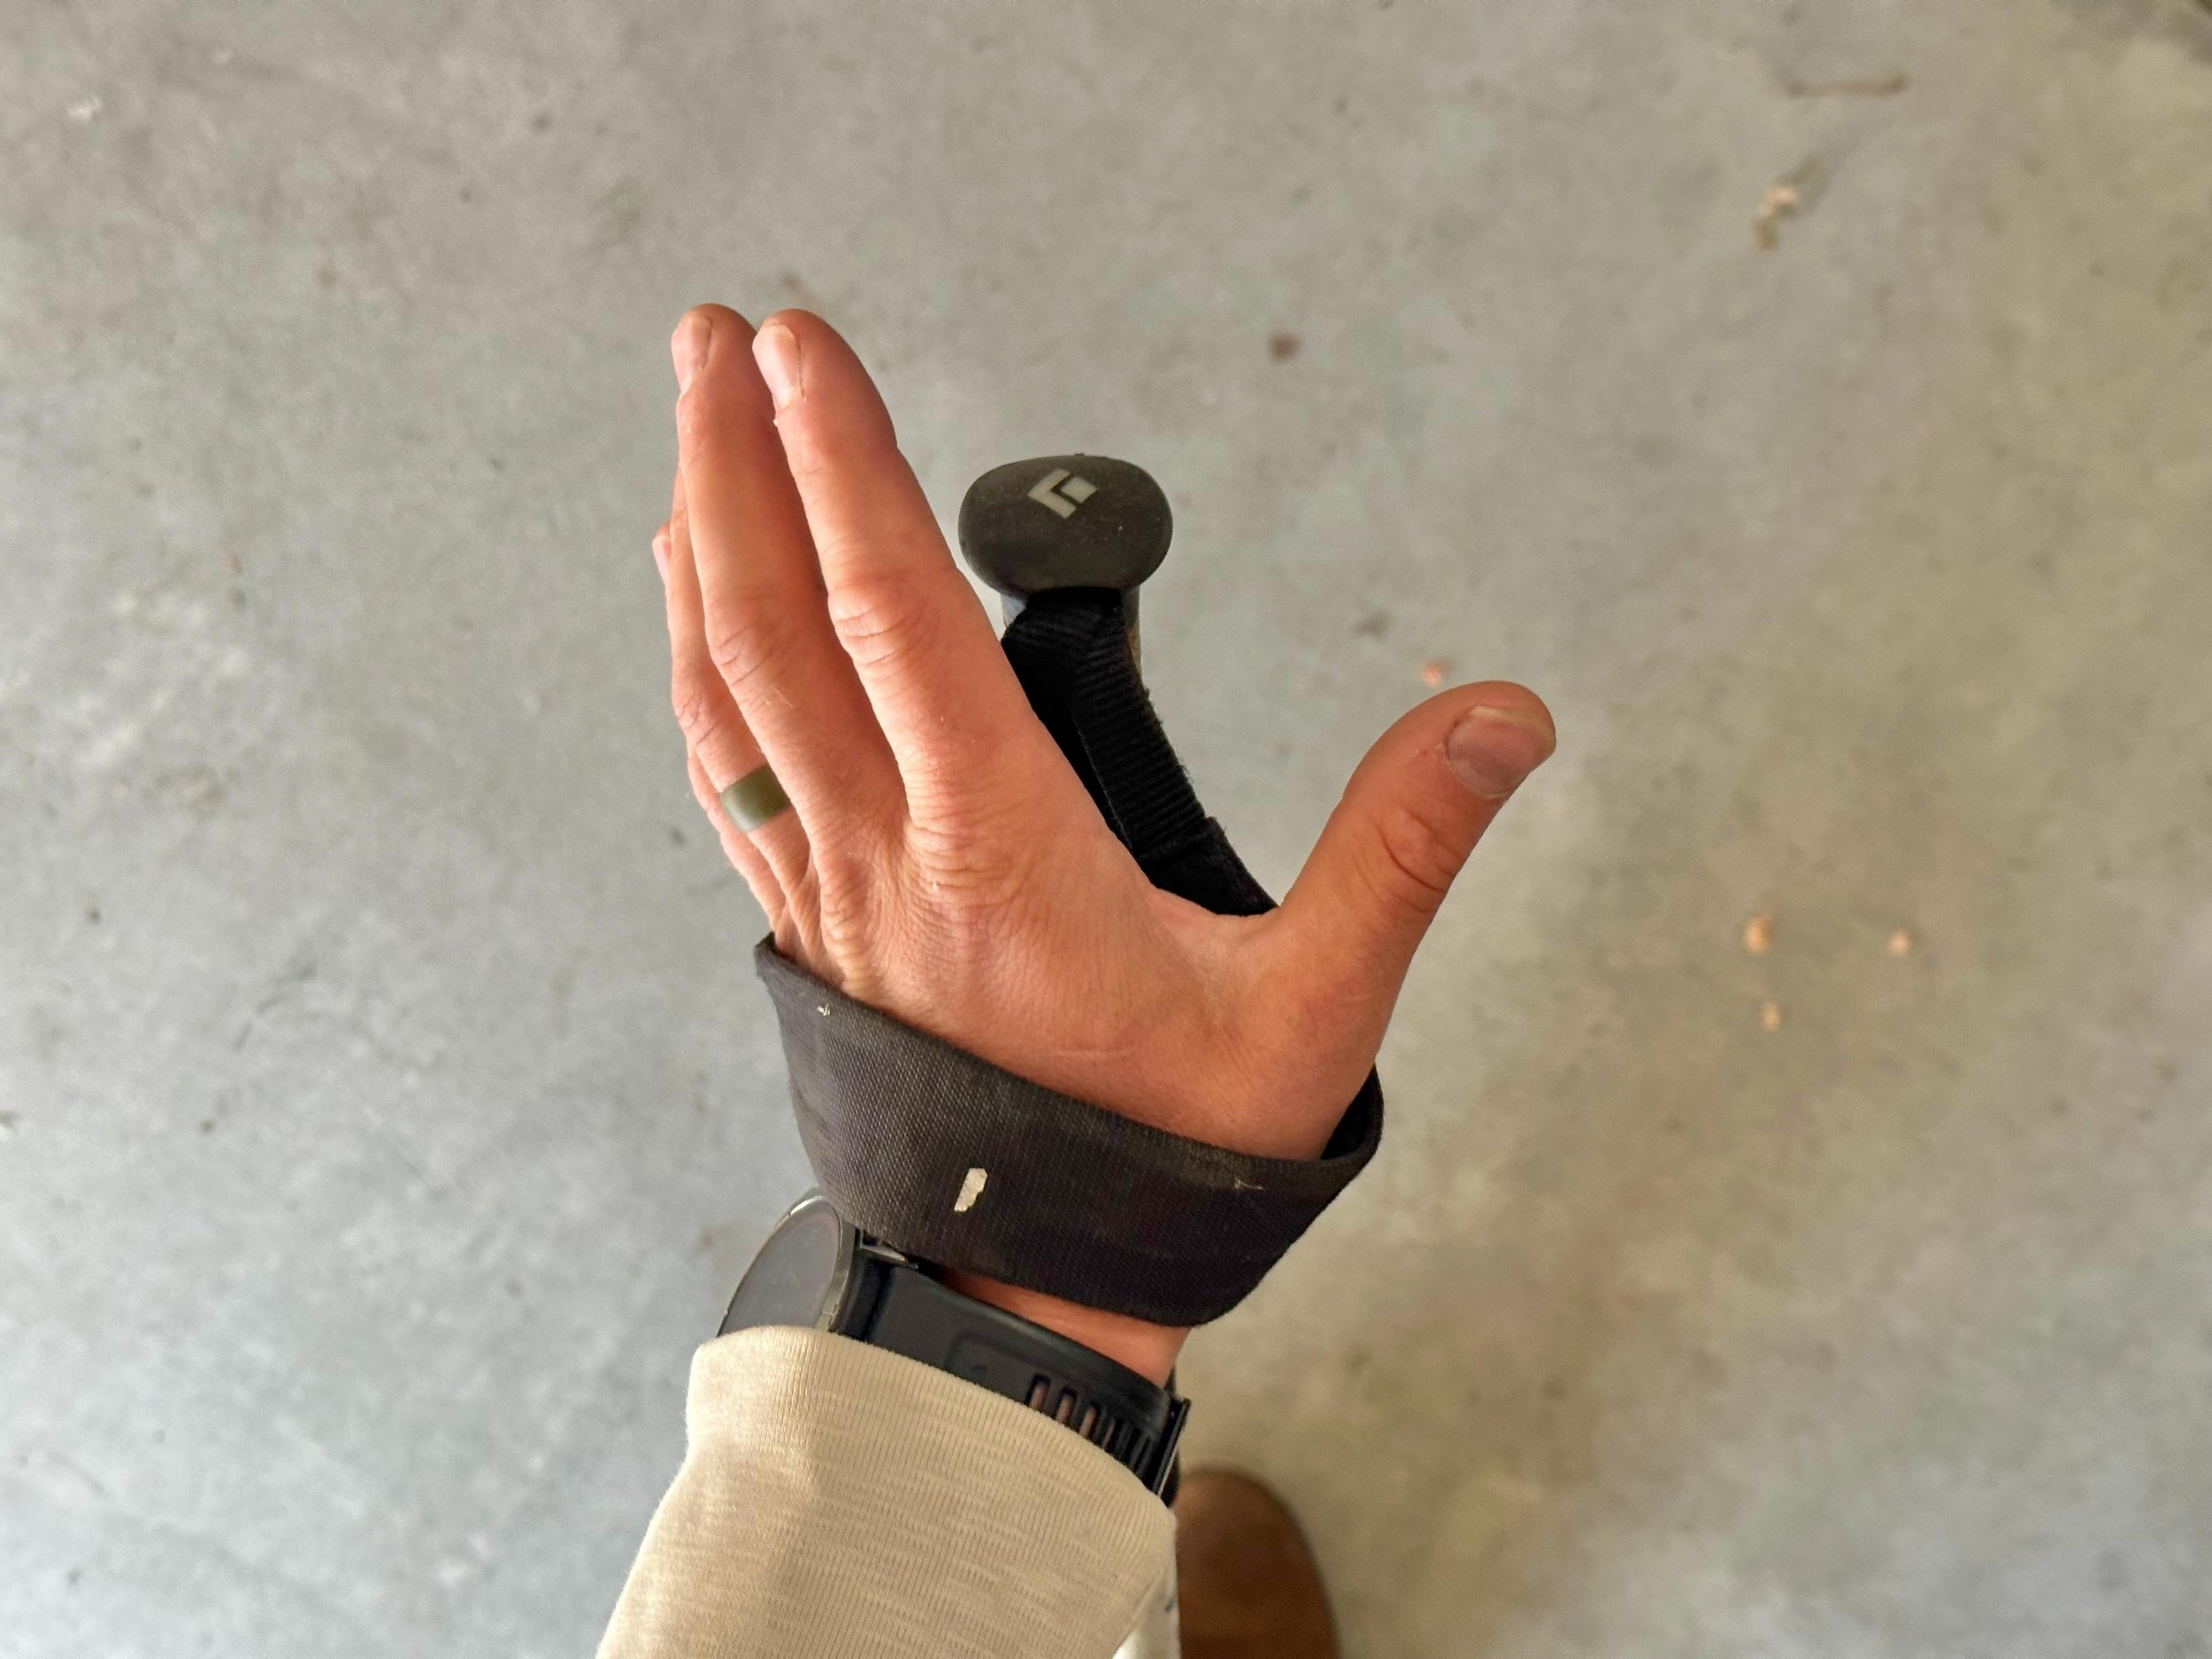
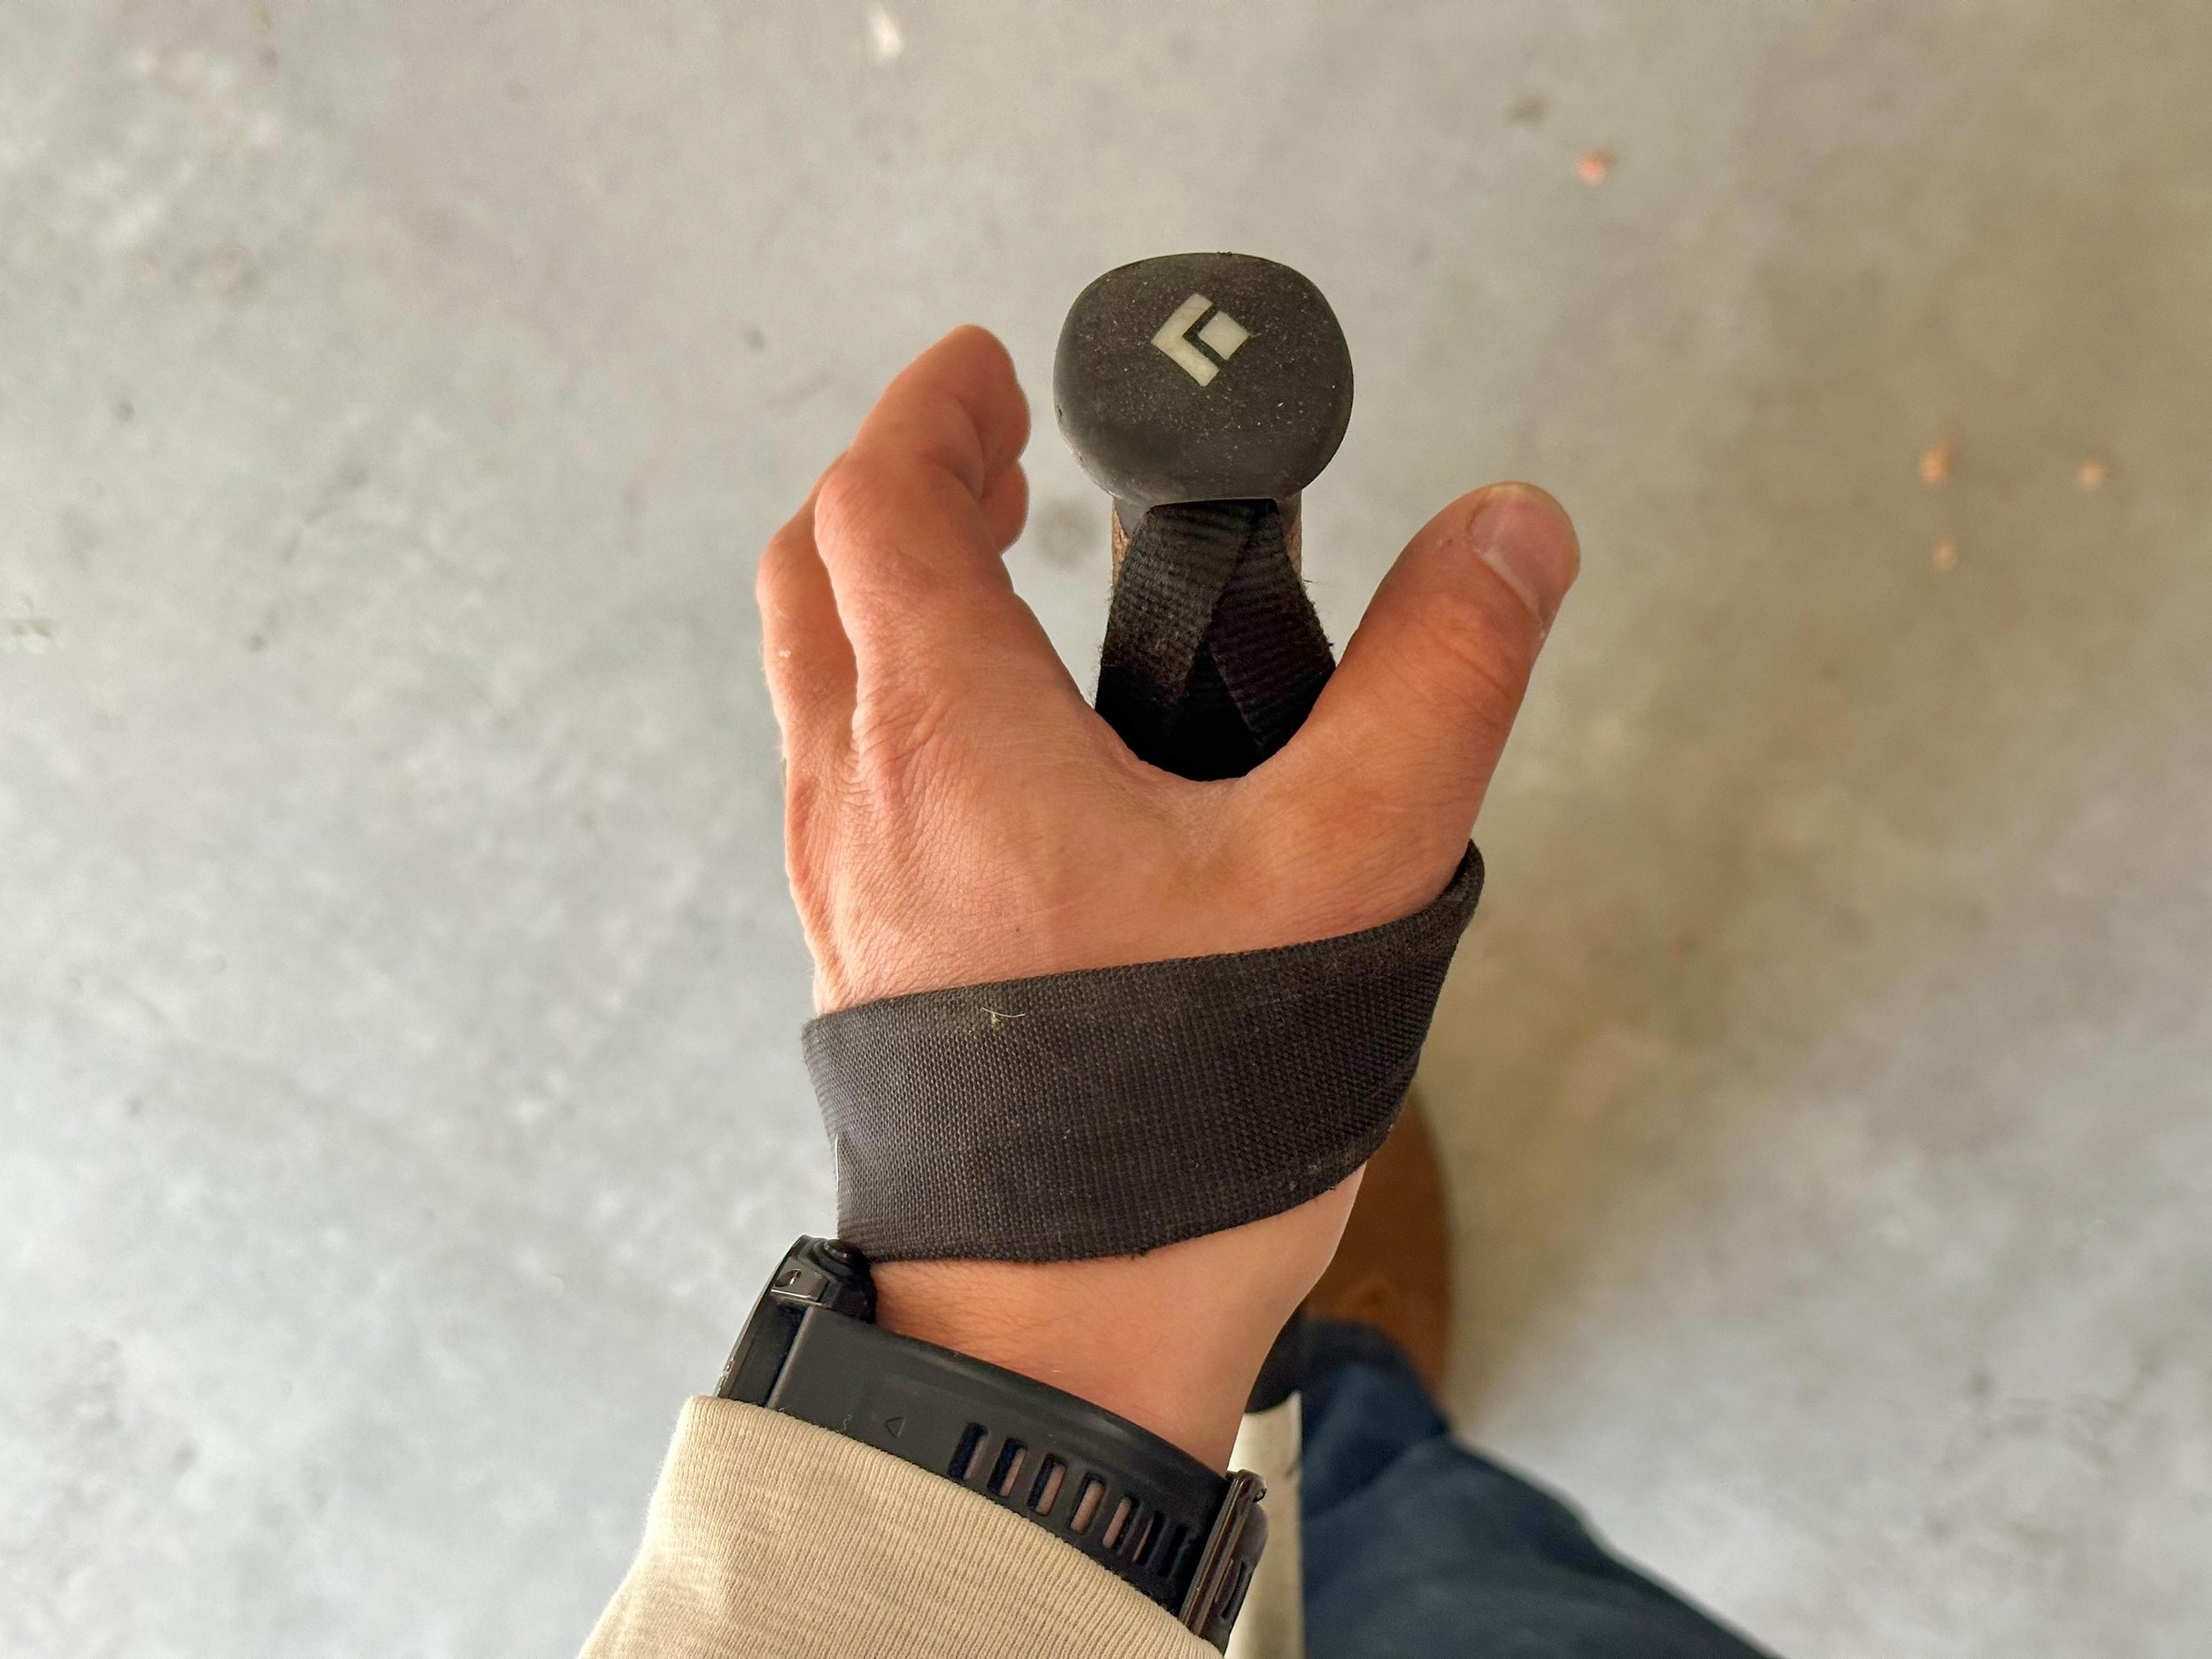
Use your pole straps. Slide your hand UP through the loop and grab the pole with the straps going up between your thumb and your pointer finger. See my video if that doesn’t make sense. The traditional top-down method can put your hands in a position that is more likely to have a finger broken by twisting if you fall. Also, having your hand in the correct way lets the strap act like a sling and allows you to load the poles without tightly gripping the handle. This is most beneficial when descending.
Lastly, always plant your pull at or behind your toe when hiking on flat ground or uphill. This allows for the best leverage and efficiency of motion. When descending, reach out ahead to plant the pole and lift it once it reaches your heal line. As you get more comfortable with the poles you can swing the ahead of you one easy terrain the feel the trail ahead of you. This helps you anticipate the rise or fall of the trail, feel logs or rocks, and keep your eyes up looking at the beautiful country you are out exploring. Oh, and finding more animals than your buddies!
Using trekking poles is a great way to provide a more safe and more enjoyable hike while putting your arms to use and saving your knees. Happy hiking!
Trekking Pole Recommendations:
My Favorite All-Season Poles ➡️ https://amzn.to/3TzlK5B
Good Affordable Poles ➡️ https://amzn.to/3TB5ukx
Great Running/Trail Poles ➡️ https://amzn.to/3f8vdlm
Poles In the Video ➡️ https://bit.ly/3TIv9I8
➡️ All My Gear: https://kit.co/ChaseChristopher
🌲☀️➡️ Follow Me: https://www.instagram.com/chase.t.c/?...